Herbed Garlic Aioli Sandwich Spread
Highlighted under: Easy Cooking Recipes
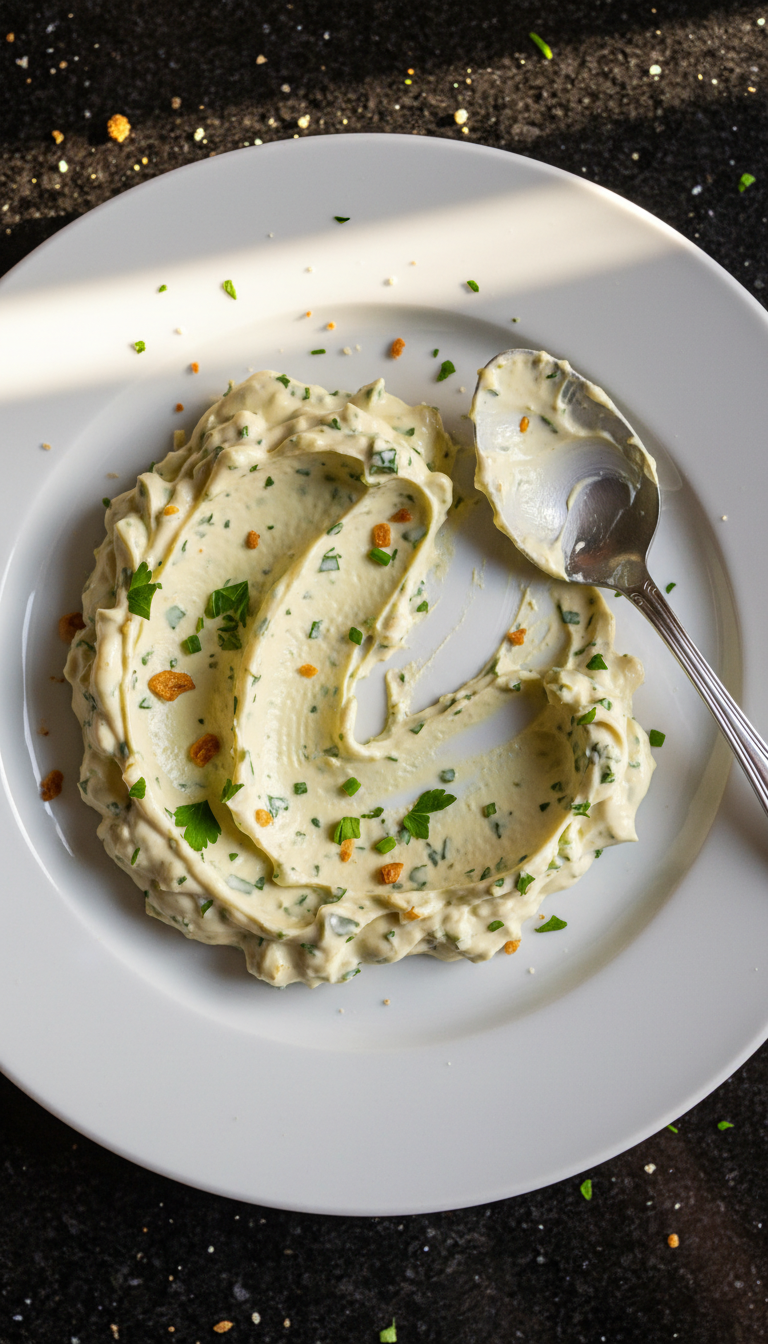
I absolutely love making Herbed Garlic Aioli Sandwich Spread for all my sandwiches; it adds an amazingly rich flavor that elevates the simplest ingredients. The blend of fresh herbs and garlic creates a punchy yet creamy spread that brings everything together. Whether I'm whipping it up for a quick lunch or as part of a spread for a gathering, this aioli never fails to impress. It’s easy to make, and the best part is that I can customize it with whatever herbs I have on hand!
Creating my Herbed Garlic Aioli Sandwich Spread has been a rewarding culinary adventure. I enjoy experimenting with different herbs to find the perfect balance, whether it's fresh basil, dill, or parsley. The key tip I've learned is to let the aioli sit for at least 30 minutes before using it. This resting time allows the flavors to meld beautifully, making each sandwich burst with deliciousness.
I've found that this spread is not just fantastic on sandwiches—it also makes a delicious dip for veggies and chips. The creaminess of the aioli complements the crunch of fresh vegetables perfectly. For a fun twist, try adding a splash of lemon juice for brightness!
Why You'll Love This Recipe
- Rich and creamy texture that adds depth to any sandwich
- Customizable with your favorite herbs for endless variations
- Perfect for picnics, parties, or a special treat at home
Understanding the Ingredients
The foundation of this Herbed Garlic Aioli Sandwich Spread is mayonnaise, which provides a rich and creamy base. When choosing mayonnaise, opt for high-quality brands or even homemade versions for a fresher taste. The mayonnaise not only binds the ingredients together but also ensures your spread has a luxurious mouthfeel that elevates any sandwich you make. It's essential to use fresh garlic, as its robust flavor will shine through, especially when minced finely to enhance its pungency.
Fresh herbs play a critical role in the flavor profile of this aioli. Parsley adds a bright, slightly peppery note, while basil introduces a sweet, aromatic quality. Chives contribute a mild onion-like flavor that ties all the herbs together. When using herbs, ensure they are freshly chopped, as dried herbs won’t provide the same vibrant flavor. I often mix in whatever herbs I have left over in my fridge, like dill or cilantro, to create unique flavor profiles, so feel free to experiment!
Chilling for Flavor Development
After mixing your aioli, it's crucial to let it chill in the refrigerator for at least 30 minutes. This chilling period allows the flavors to meld beautifully, enhancing the overall taste of the spread. As it sits, the garlic infuses into the mayonnaise, creating a deeper, more rounded flavor. It's a simple step that makes a significant difference, so don’t skip it! If you can allow it to chill for an hour or even overnight, the flavor will be even more pronounced.
To maintain freshness and prevent any absorption of odors from your fridge, cover the aioli tightly with plastic wrap or transfer it to an airtight container. Proper storage will keep the spread fresh for up to a week. Just remember to give it a good stir before each use, as some separation might occur—this is perfectly normal and can easily be fixed by mixing.
Serving Suggestions
This Herbed Garlic Aioli can be a game-changer for your served sandwiches. Spread a generous layer over crusty bread for a classic sandwich or use it as a dip for vegetable platters. It pairs beautifully with grilled chicken, turkey, or roasted veggies, enriching flavors and textures. If you're planning a picnic, pack it along with fresh baguettes and assorted fillings for a delightful DIY sandwich spread bar. The versatility of this aioli means you can add it to wraps or even dollop it on baked potatoes for an elevated taste experience.
When hosting gatherings, consider serving the aioli with a side of toasted crostini or fresh pita chips. Its rich and creamy texture makes it an appealing choice for dips, allowing it to shine alongside other appetizers. If you're feeling adventurous, mix in a little bit of hot sauce for a spicy twist or a dollop of honey for a subtle sweetness. This adaptability means you can tailor it to suit your flavor preferences or the theme of your meal.
Ingredients
Ingredients
Herbed Garlic Aioli
- 1 cup mayonnaise
- 3 cloves garlic, minced
- 2 tablespoons fresh parsley, chopped
- 1 tablespoon fresh basil, chopped
- 1 tablespoon fresh chives, chopped
- 1 teaspoon lemon juice
- Salt and pepper, to taste
Instructions
Instructions
Mix Ingredients
In a mixing bowl, combine the mayonnaise, minced garlic, parsley, basil, chives, and lemon juice. Stir well until all ingredients are fully incorporated.
Season
Add salt and pepper to taste. Adjust seasoning as necessary according to personal preference.
Chill
Cover the bowl with plastic wrap and let it chill in the refrigerator for at least 30 minutes to allow the flavors to develop.
Pro Tips
- For a smoky flavor, try adding a pinch of smoked paprika. Additionally, using homemade mayonnaise will take this spread to the next level!
Variations and Substitutions
There are countless ways to customize your Herbed Garlic Aioli to suit your taste! If you're looking for a spicy kick, consider adding minced jalapeños or a dash of cayenne pepper to the mix. Alternatively, for a smoky flavor, a bit of smoked paprika can be stirred in. If you don't have fresh herbs on hand, dried herbs can be a decent substitute; just use about one-third of the quantity and adjust to taste.
For a lighter version, you could swap half the mayonnaise for Greek yogurt. This adjustment gives you that creamy texture while adding a tangy note, making the aioli a little healthier without sacrificing flavor. Also, if you're following a vegan diet, there's a slew of egg-free mayonnaise options readily available that can work beautifully in this recipe.
Make-Ahead and Storage
This Herbed Garlic Aioli is perfect for make-ahead meals. If you know you'll be using it later in the week, whip it up in advance; it keeps well in the fridge for up to one week. A well-sealed container is key to retaining freshness and flavor. I often make double the batch to ensure I have enough on hand for quick meals or unexpected guests—a little prep goes a long way in weeknight dinners!
If you find yourself with leftover aioli, it can also be frozen for up to three months. Scoop it into ice cube trays and freeze until solid, then transfer the frozen cubes into a resealable bag. When you're ready to use, simply thaw the desired amount in the fridge and stir well upon thawing. This is a great way to always have this flavorful spread on hand!
Questions About Recipes
→ Can I substitute the mayonnaise?
Yes, you can use Greek yogurt for a healthier option, though it will change the flavor and texture.
→ How long does this spread last?
This Herbed Garlic Aioli can be stored in the refrigerator for up to a week in an airtight container.
→ Can I use dried herbs instead?
While fresh herbs provide the best flavor, you can use dried herbs in a pinch, but reduce the quantity as they are more concentrated.
→ What sandwiches pair well with this spread?
It pairs wonderfully with grilled chicken, roasted vegetables, or as a base for a veggie sandwich!
Herbed Garlic Aioli Sandwich Spread
Created by: The Nutrimealsource Team
Recipe Type: Easy Cooking Recipes
Skill Level: Easy
Final Quantity: 1 cup
What You'll Need
Herbed Garlic Aioli
- 1 cup mayonnaise
- 3 cloves garlic, minced
- 2 tablespoons fresh parsley, chopped
- 1 tablespoon fresh basil, chopped
- 1 tablespoon fresh chives, chopped
- 1 teaspoon lemon juice
- Salt and pepper, to taste
How-To Steps
In a mixing bowl, combine the mayonnaise, minced garlic, parsley, basil, chives, and lemon juice. Stir well until all ingredients are fully incorporated.
Add salt and pepper to taste. Adjust seasoning as necessary according to personal preference.
Cover the bowl with plastic wrap and let it chill in the refrigerator for at least 30 minutes to allow the flavors to develop.
Extra Tips
- For a smoky flavor, try adding a pinch of smoked paprika. Additionally, using homemade mayonnaise will take this spread to the next level!
Nutritional Breakdown (Per Serving)
- Calories: 120 kcal
- Total Fat: 12g
- Saturated Fat: 2g
- Cholesterol: 5mg
- Sodium: 150mg
- Total Carbohydrates: 1g
- Dietary Fiber: 0g
- Sugars: 0g
- Protein: 1g